How to Wash Cloth Diapers: The Complete Guide for Clean, Fresh Diapers Every Time
If you've started researching how to wash cloth diapers, you've probably discovered two things:
Everyone has an opinion.
Somehow, laundry has been turned into advanced calculus.
Maybe you've been told to calculate your washer's drum volume, solve a few mathematical equations, fill out a multi-page worksheet, and analyze your water chemistry before you're even allowed to wash a diaper.
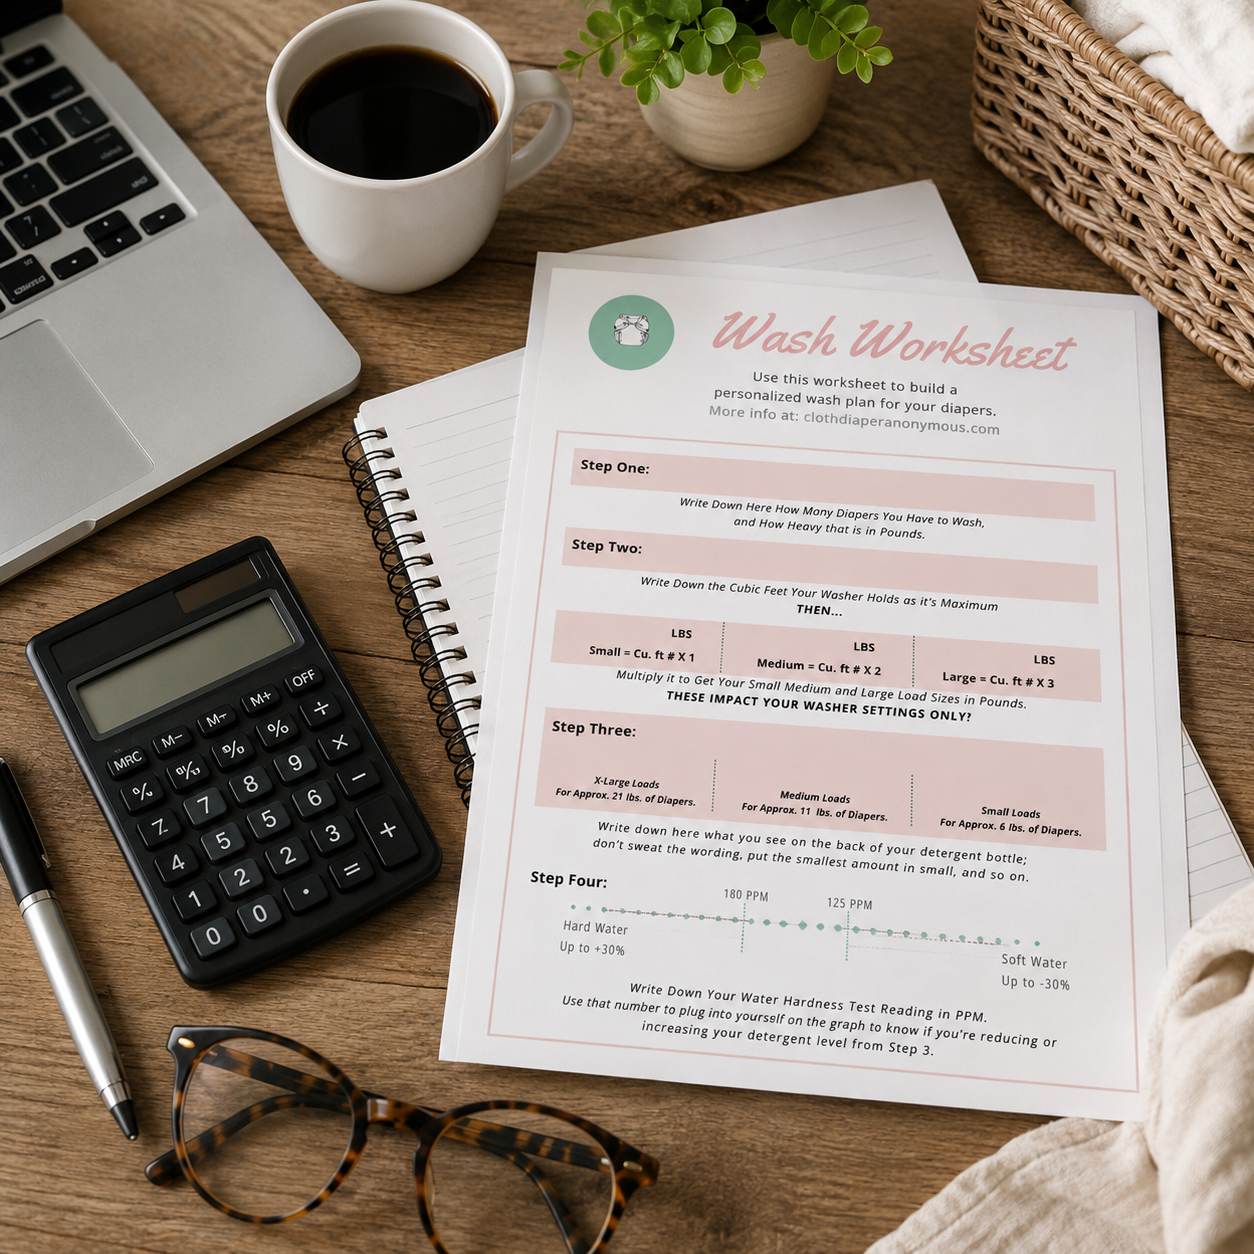
Let's not do that. Rip up the worksheet.
While every washer, detergent, and water supply is a little different, most families don't need a complicated formula to get clean diapers. You need a routine that's easy to follow, works consistently, and fits your everyday life.
In this guide, I'll walk you through the simple, practical steps I recommend—from storing dirty diapers to building a wash routine that leaves your diapers clean, fresh, and ready for the next change. If you run into problems later, you can always fine-tune your routine. But let's start with the basics and keep cloth diapering as simple as it should be.
Step 1: How To Properly Story Dirty Diapers
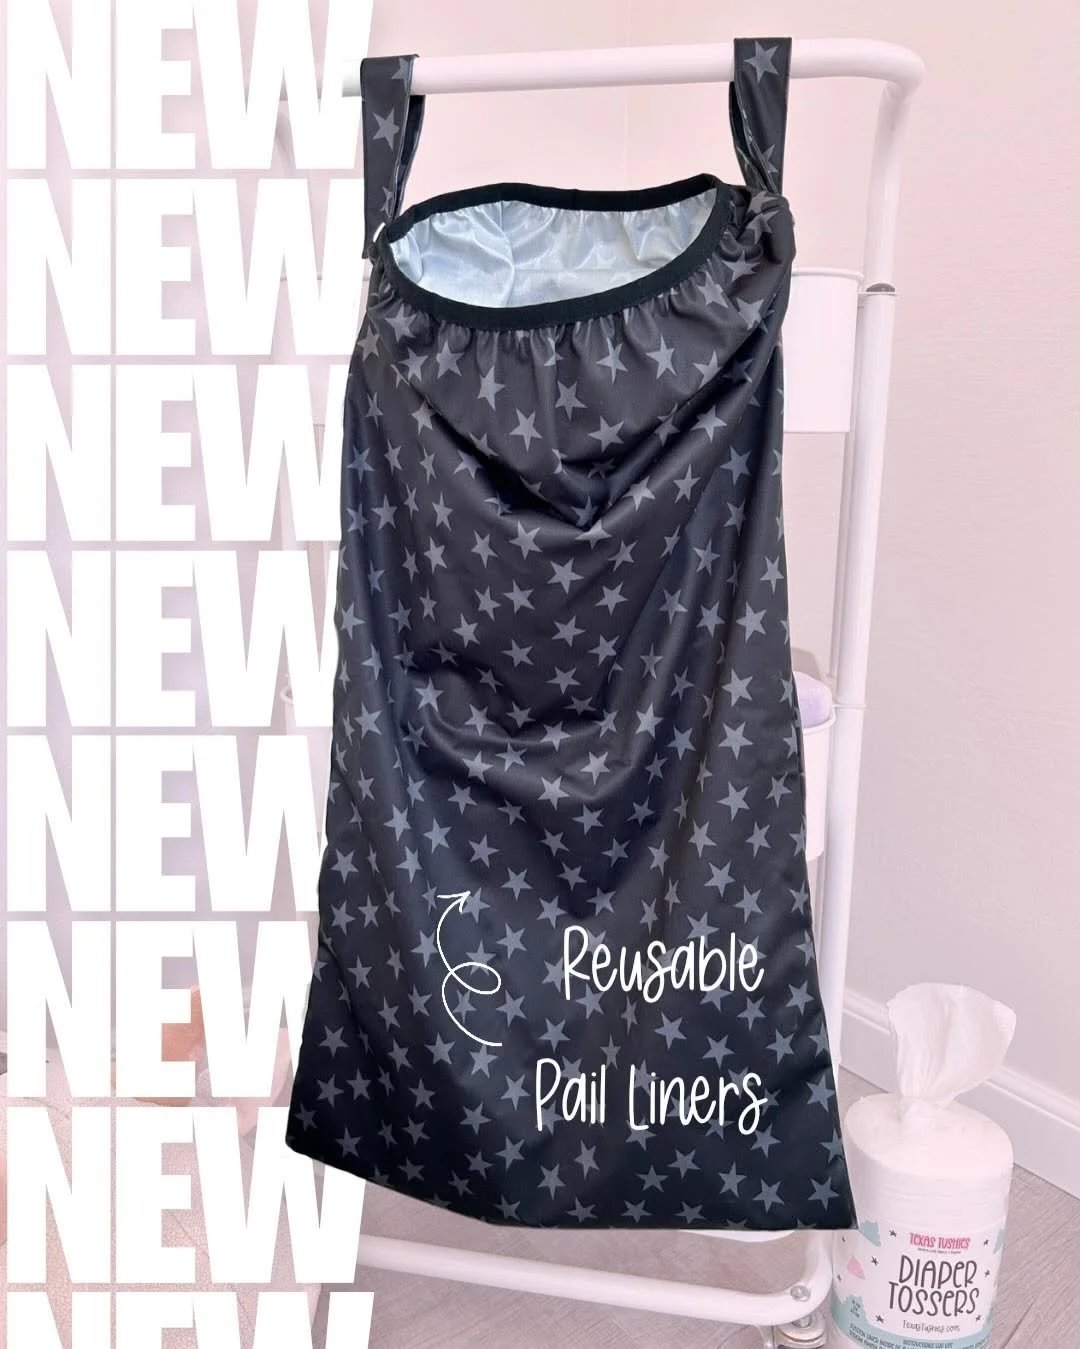
How you store dirty diapers between washes can make a big difference in preventing odors, mildew, and wash routine issues. The goal is to allow as much airflow as possible while keeping everything contained until wash day.
Option 1: A Hanging Wet Bag (Most Popular)
A large hanging wet bag is one of the easiest and most affordable ways to store dirty cloth diapers. Simply hang it on the back of a door, inside a closet, or on a hook in your laundry room or nursery.
I personally love the oversized hanging wet bags from Texas Tushies and Kinder Cloth Diapers. They're roomy enough to hold several days' worth of diapers, are machine washable, and have durable zippers and handles. They also fit perfectly inside a standard tall trash can if you prefer a more concealed setup.
Option 2: A Diaper Pail

If you prefer the look of a diaper pail, you don't have to buy one marketed specifically for cloth diapers. I don’t really think there is one, they’re typically all marketed for air-tightness, which is a must with dirty disposables. Those start to smell REAL FAST!
I use a Dekor Diaper Pail, but with one small modification: I removed the interior odor-trap door. While that door works well for disposable diapers, it restricts airflow. Removing it allows much better air circulation, which helps dirty cloth diapers dry out between washes instead of trapping moisture and odors.
I simply line the pail with a large hanging wet bag, making wash day as easy as lifting the bag out and tossing everything into the washing machine.
Option 3: A Tall Step Trash Can or Open Hamper
Another budget-friendly option is a regular tall step trash can lined with a hanging wet bag.
This setup keeps diapers neatly tucked away while still providing better airflow than many traditional diaper pails. It's also easy to clean and inexpensive to replace if needed. Large hanging wet bags from Texas Tushies and Kinder Cloth Diapers fit these cans exceptionally well, making them an excellent choice if you're looking for a simple storage solution.
Dry Pail vs. Wet Pail: Which Storage Method Is Right for You?
One of the biggest changes in modern cloth diapering is that most families now use a dry pail instead of storing diapers in water. However, there isn't a one-size-fits-all solution. Both methods have their advantages, and the best choice depends on your wash routine and personal preference.
Wet Pail Storage
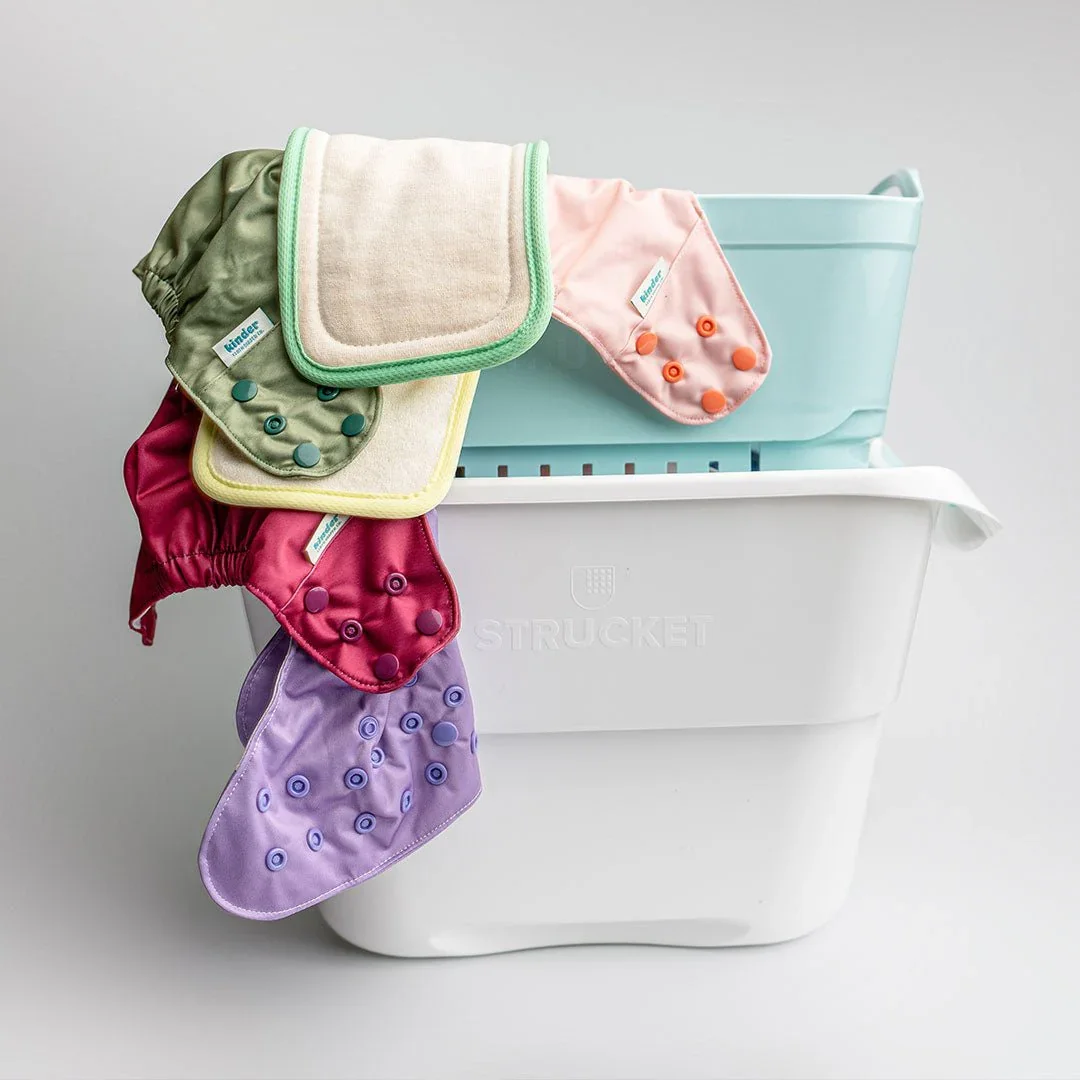
A wet pail involves soaking dirty diapers in water before wash day. While traditional wet pails have largely fallen out of favor, modern products like the Strucket have made this method much more practical.
The Strucket is a two-piece laundry bucket with a removable inner basket. It allows diapers to soak before washing, and when you're ready, simply lift the basket to drain the water—no reaching into dirty water required.
For families who prefer soaking diapers, it's one of the cleanest and most convenient systems available.
Cons:
Requires changing or draining the soak water regularly
Takes up a little more space than a standard diaper pail
Standing water should always be kept securely covered and out of reach of children and pets
Prolonged soaking isn't recommended for every diaper material, so always follow your diaper manufacturer's care instructions
Pros:
Helps loosen dried-on messes before washing
Can reduce staining on light-colored natural fibers
Makes it easy to pre-soak diapers, cloth wipes, and other heavily soiled laundry
The removable basket makes draining and transferring laundry simple and mess-free
A versatile laundry tool you'll likely continue using long after your diapering days
Dry Pail Storage
A dry pail simply means storing dirty diapers in a hanging wet bag, diaper pail, or trash can without adding water until wash day.
Cons:
Solid waste still needs to be removed before washing once your baby starts eating solids.
Stains and dried-on messes may require a little extra attention during the wash process.
Some parents find they need a stronger pre-wash cycle to loosen heavily soiled diapers.
Pros:
Simple, low-maintenance routine
No standing water in the nursery or laundry room
Less risk of mildew from prolonged soaking
Easy to transfer directly to the washing machine
Works well for the vast majority of cloth diapering families
Which Method Do I Recommend?
For most families, a dry pail is the easiest and most beginner-friendly option. It's simple, effective, and pairs well with a solid wash routine.
That said, if you love the idea of pre-soaking diapers or want a laundry tool that can handle everything from cloth diapers and cloth wipes to stained baby clothes and muddy towels, the Strucket is worth considering. It's much more than a diaper pail—it's a versatile laundry system that can make tackling tough laundry a whole lot easier.
No matter which storage method you choose, the most important thing is to wash your diapers every frequently. A consistent wash routine is far more important than whether you store them wet or dry.

Step 2: Wash Frequency- Find A Routine You Can Stick To
For most cloth diapering families, washing every 2–3 days is the ideal schedule. Regular washing helps prevent odors, stains, ammonia buildup, and mineral or detergent issues that can develop when diapers sit too long.
If you have a newborn or young infant, you'll likely have a full load every couple of days anyway. Keeping a consistent routine also helps ensure diapers come out clean and fresh every time.
What If You Don't Have Enough Diapers for a Full Load?
If you're cloth diapering an older toddler who only wears diapers for naps, bedtime, or is actively potty training, you may not have enough dirty diapers to justify washing every 2-3 days.
In those cases, it's perfectly fine to stretch your wash schedule a little longer-but I don't recommend letting dirty diapers sit for more than five days without at least rinsing them.
If you aren't ready to run a full wash yet, you have a few options:
Run a quick rinse cycle to remove urine and any remaining soil, then allow the diapers to air dry before storing them until wash day.
If you're using a Strucket, you can use it to pre-soak diapers for a short period before washing, following the manufacturer's instructions and your diaper brand's care recommendations.
Why Washing Regularly Matters
Even if diapers don't look dirty, urine and bacteria begin to build up over time. Allowing diapers to sit too long can lead to:
Lingering odors
Stains
Mold or mildew in humid environments
Ammonia buildup
More difficult wash routine troubleshooting later
A consistent wash schedule-whether that's every two days with a newborn or every four to five days with a potty-training toddler-is one of the easiest ways to keep your cloth diapers clean, absorbent, and lasting through multiple children.
Step 3: The Pre-Wash To Set Your Main Wash Up for Success
Before you start your pre-wash, make sure any solid waste has been removed from the diapers. This step only applies to babies who are formula-fed or eating solids. If your baby is exclusively breastfed, their poop is water-soluble and can go straight into the washing machine—no rinsing required.
Removing Poop
There are several ways to tackle poop before wash day, and the best method is the one you'll actually use consistently.
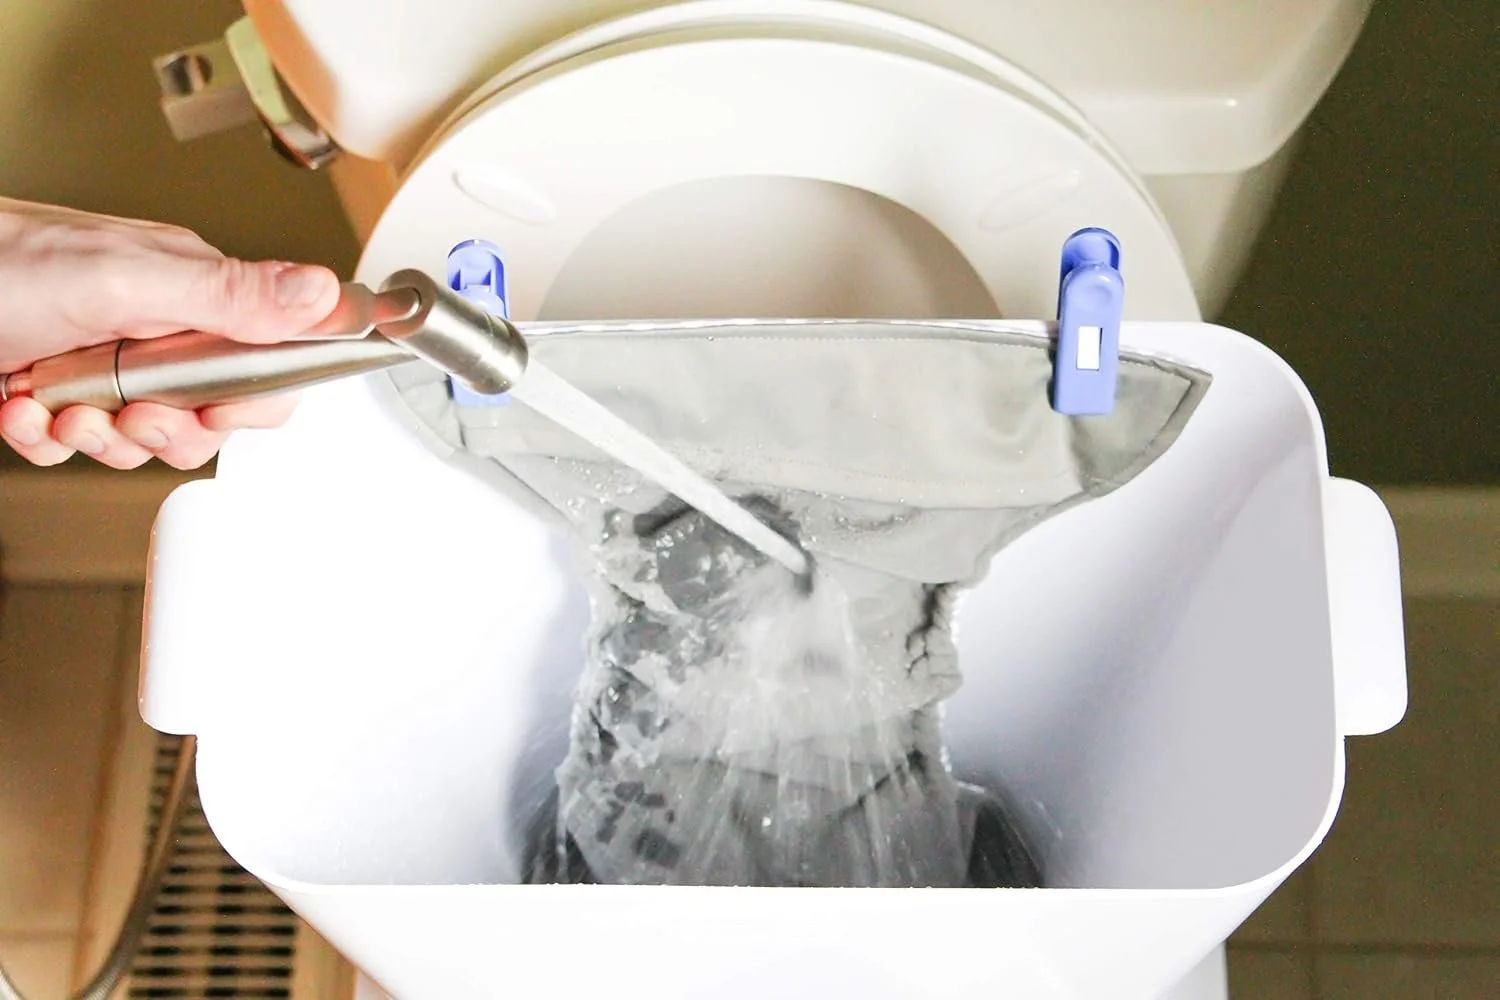
Diaper Sprayer
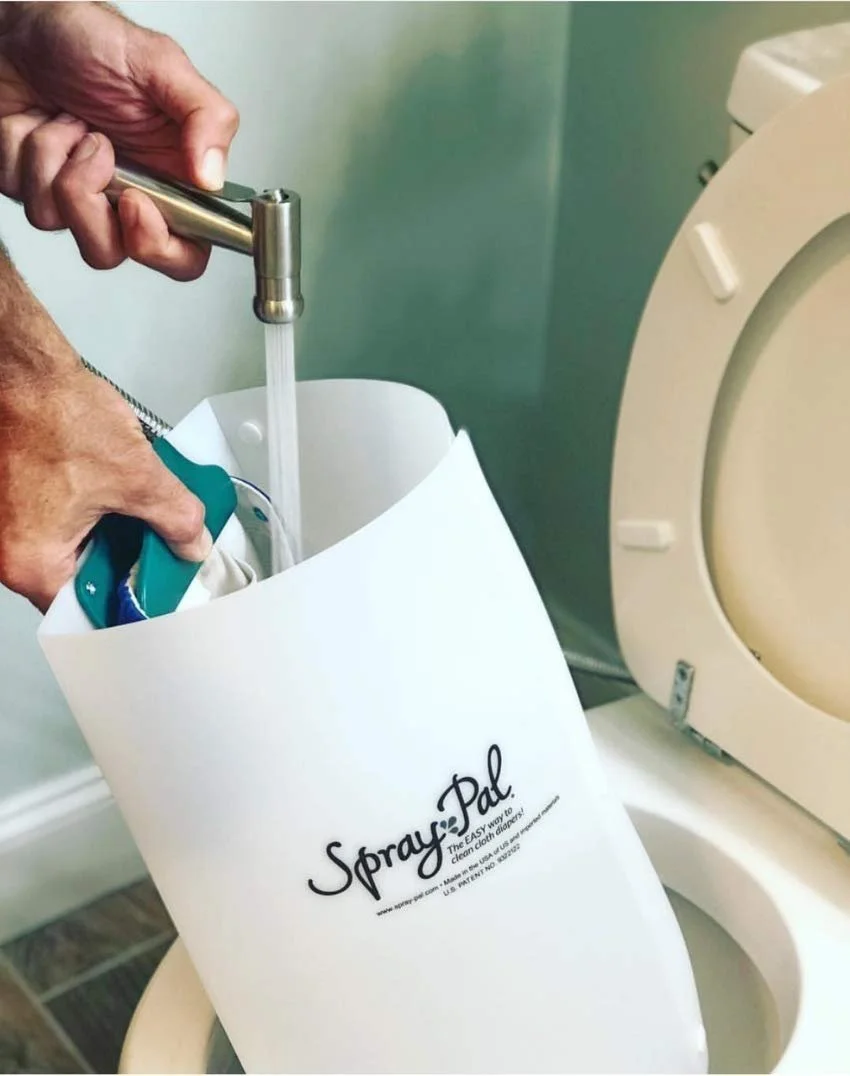
A diaper sprayer (AKA Handheld Bidet) attaches to your toilet's water supply and makes rinsing diapers quick and easy. Simply spray the solid waste directly into the toilet before placing the diaper in your diaper pail or wet bag.
If you're using a sprayer, I highly recommend pairing it with a Spray Pal spray stand or a RinseBuddy. It holds the diaper upright inside the toilet, helping contain overspray and keeping your hands cleaner during the process. Once you use one, you'll wonder how you managed without it. Especially the RinseBuddy! You can just leave the stand on the toilet to drip dry.
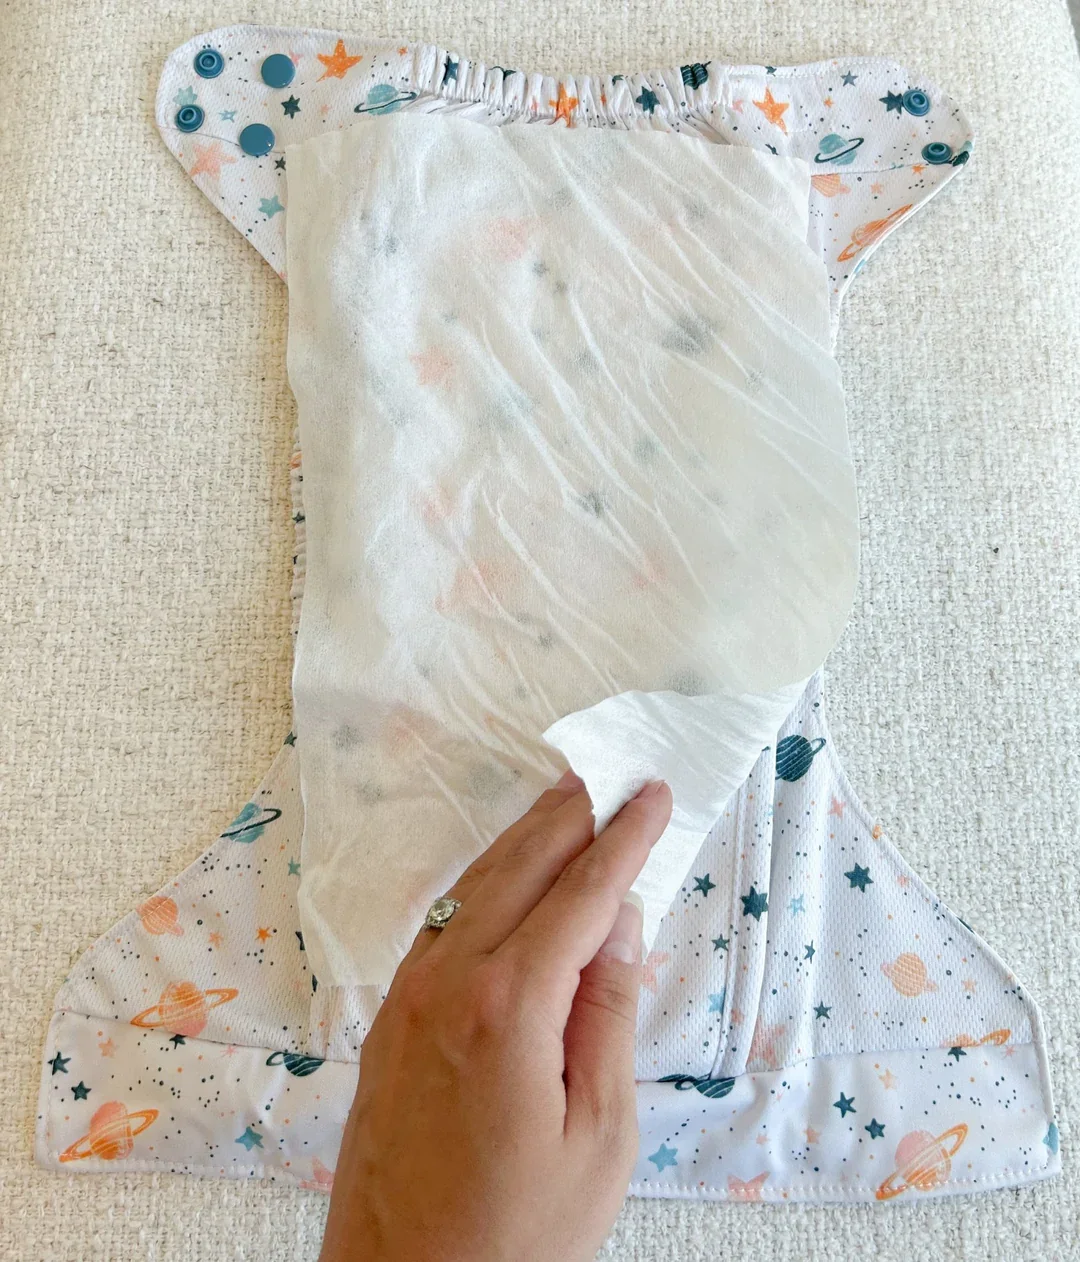
Disposable Bamboo Liners
If you'd rather minimize spraying altogether, disposable bamboo liners are another great option. Place a liner inside the diaper before putting it on your baby. When it's time for a change, simply lift out the liner and dispose of the solid waste before tossing the diaper into your pail.
Keep in mind that most bamboo liners are not flushable, even if the packaging says they are. To avoid plumbing issues, it's best to shake the poop into the toilet and throw the used liner in the trash.
Time for the Pre-Wash
Once any solid waste has been removed, it's time for your pre-wash.
Think of the pre-wash as rinsing your dinner plate before loading it into the dishwasher. It removes the majority of urine, poop residue, and other soils so your main wash isn't trying to clean heavily soiled diapers in dirty water.
For your pre-wash, use:
Warm water or Cool if you want to conserve energy
A small amount of detergent- start with 1-2 tablespoons
A Normal, Quick Wash, or other short wash cycle with good agitation
Don't worry about getting the diapers perfectly clean during this step—that's what the main wash is for. The goal is simply to remove the bulk of the mess so your heavy-duty wash can thoroughly clean and sanitize the diapers.
Step 4: The Grand Finale
This is the moment your wash routine has been working toward.
By now, you've stored your diapers properly, found a wash rhythm you can stick to, removed any solid waste, and completed a pre-wash. Now it's time for your main wash-the cycle that does the heavy lifting and leaves your diapers clean, fresh, and ready for your next diaper change.
For the best results, your main wash should include:
The heaviest-duty cycle your washing machine offers (Heavy Duty, Power Wash, Whites, etc.)
Warm or hot water, according to your diaper manufacturer's recommendations. Make sure your water heater isn’t set too high.
The full recommended amount of detergent for your washer and load size. I’m a sniffer- If your pre- wash was still stinky- add another tablespoon for the mainwash. If your pre-wash came out clean smelling like detergent, use much less detergent in the main wash and decrease the amount used in the prewash next time.
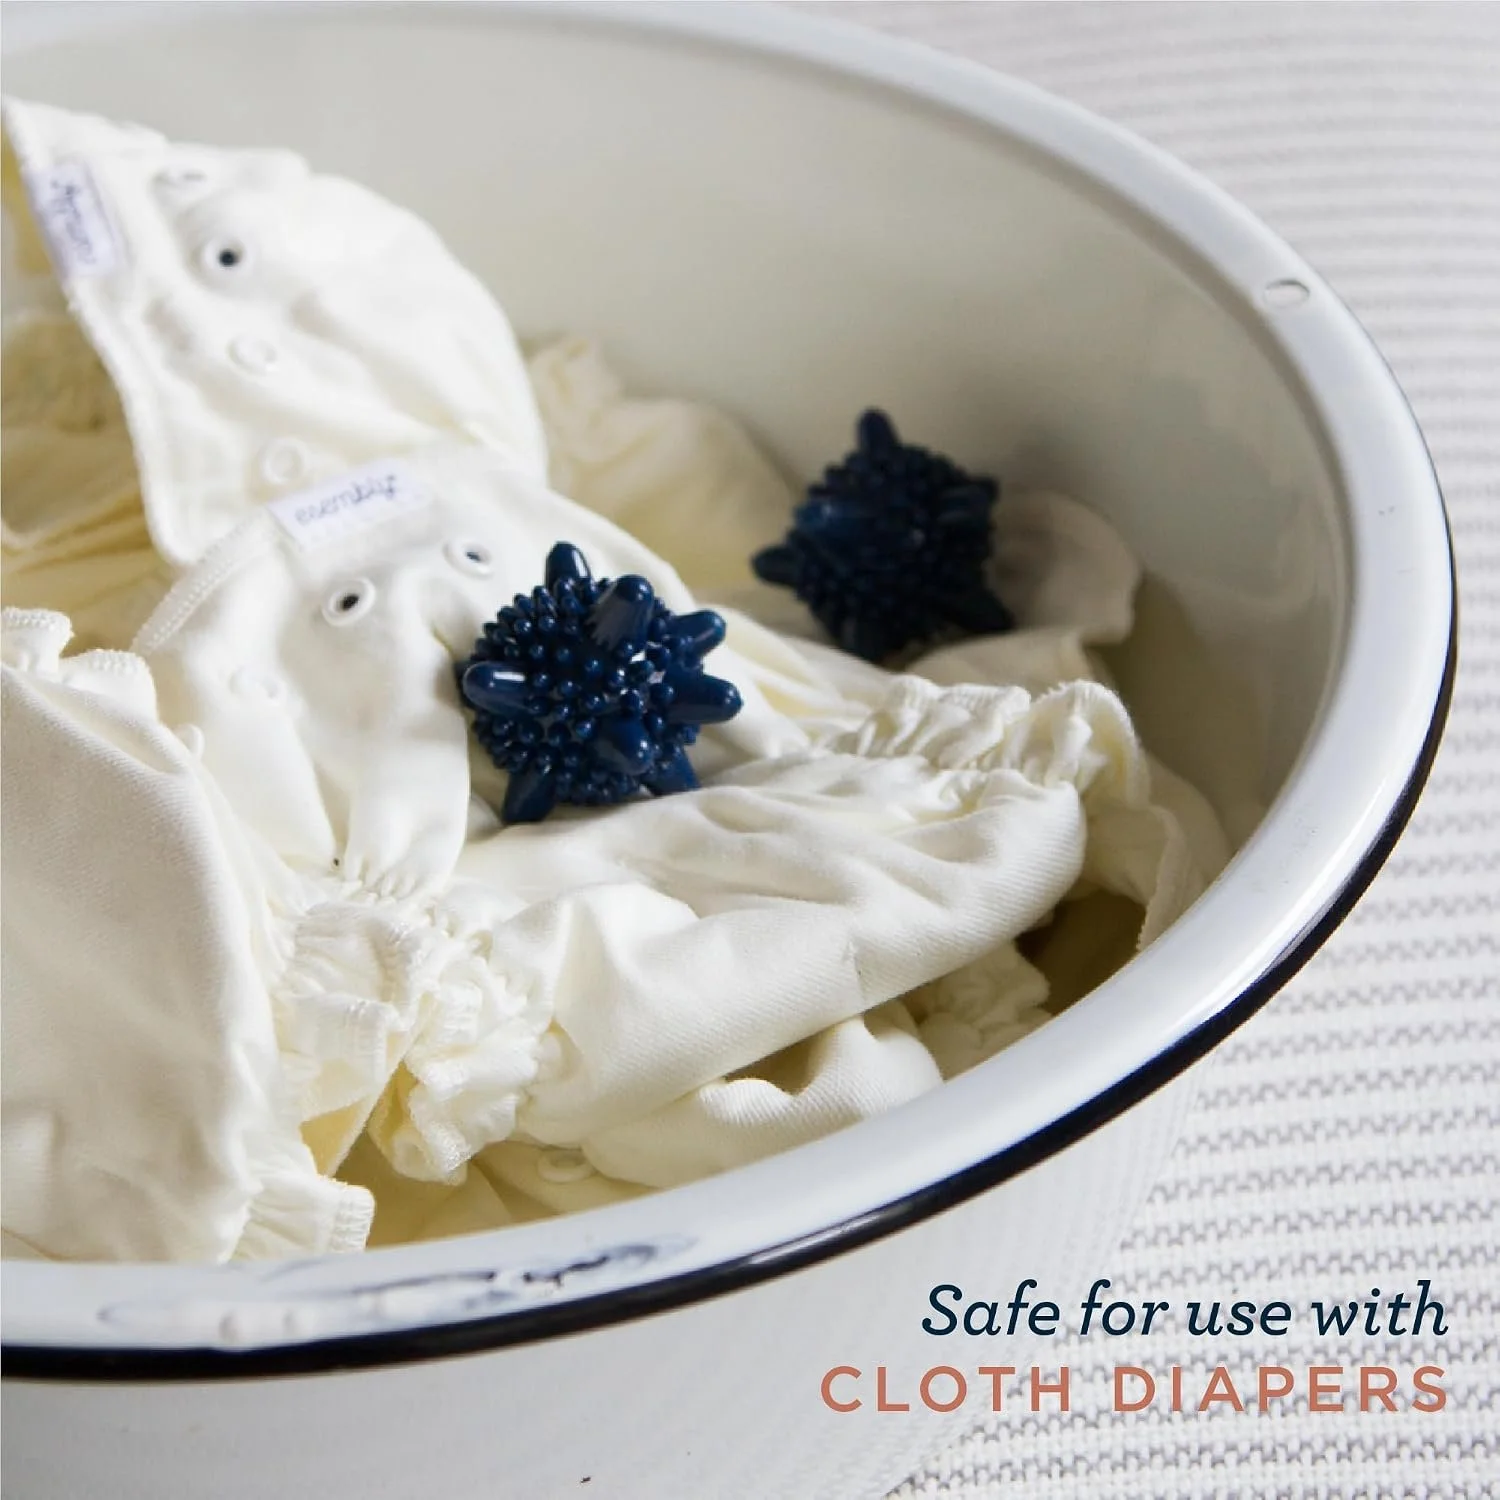
Plenty of agitation, which is what actually gets diapers clean. Not sure if you’re getting enough agitation? try something like Esembly Agitator Balls to help really shake things up and get your load super clean!
Load Size Matters
One of the most overlooked parts of a successful wash routine is load size.
Your washing machine needs enough laundry to create friction, allowing the diapers to rub against one another and lift away dirt and bacteria. Too few items can reduce agitation, while packing the washer too full prevents everything from moving freely.
A good rule of thumb is to fill the drum about half to three-quarters full once it's loaded with dry laundry.
If your diaper stash isn't quite enough to reach that sweet spot, add a few small items like:
Baby clothes
Washcloths
Burp cloths
Small towels
Avoid adding large items like blankets, sheets, or adult jeans, as they can wrap around diapers and reduce agitation.
Trust the Process
It's tempting to add extra rinse cycles, extra detergent, laundry boosters, or every cloth diaper "hack" you've seen online—but more isn't always better.
A properly built wash routine with the right amount of detergent, enough agitation, and the correct cycle is usually all you need.
If your diapers come out clean, smell fresh, and absorb well, congratulations—you've nailed it.
Now all that's left is to get them dry and ready for the next round.
Step 5: The Victory Lap
Congratulations-you've made it through wash day! Now it's time for the easiest step: getting your diapers dry and ready for the next diaper change.
How you dry your cloth diapers can help extend their lifespan while saving energy and keeping them looking their best.

Friendsheep Wool
Tumble Drying
Many cloth diaper inserts made from cotton, bamboo, or hemp can safely be tumble dried. Pocket shells, covers, and All-in-Ones can often go in the dryer on low or no heat, but always check your manufacturer's care instructions first. High heat over time can wear out elastics and waterproof materials more quickly.
To help reduce drying time (and the amount of heat your diapers are exposed to), toss a few wool dryer balls, like those from Friendsheep Wool, into the dryer. They help separate the diapers, improve airflow, and naturally soften fabrics without the need for dryer sheets or fabric softeners. These are also great for your regular laundry and you can add a scent with natural- heat resistant fragrance oils. Don't have wool dryer balls? A clean, dry bath towel works surprisingly well too. Adding one to your dryer load helps absorb moisture from the diapers, often shortening dry time and reducing the amount of heat needed.
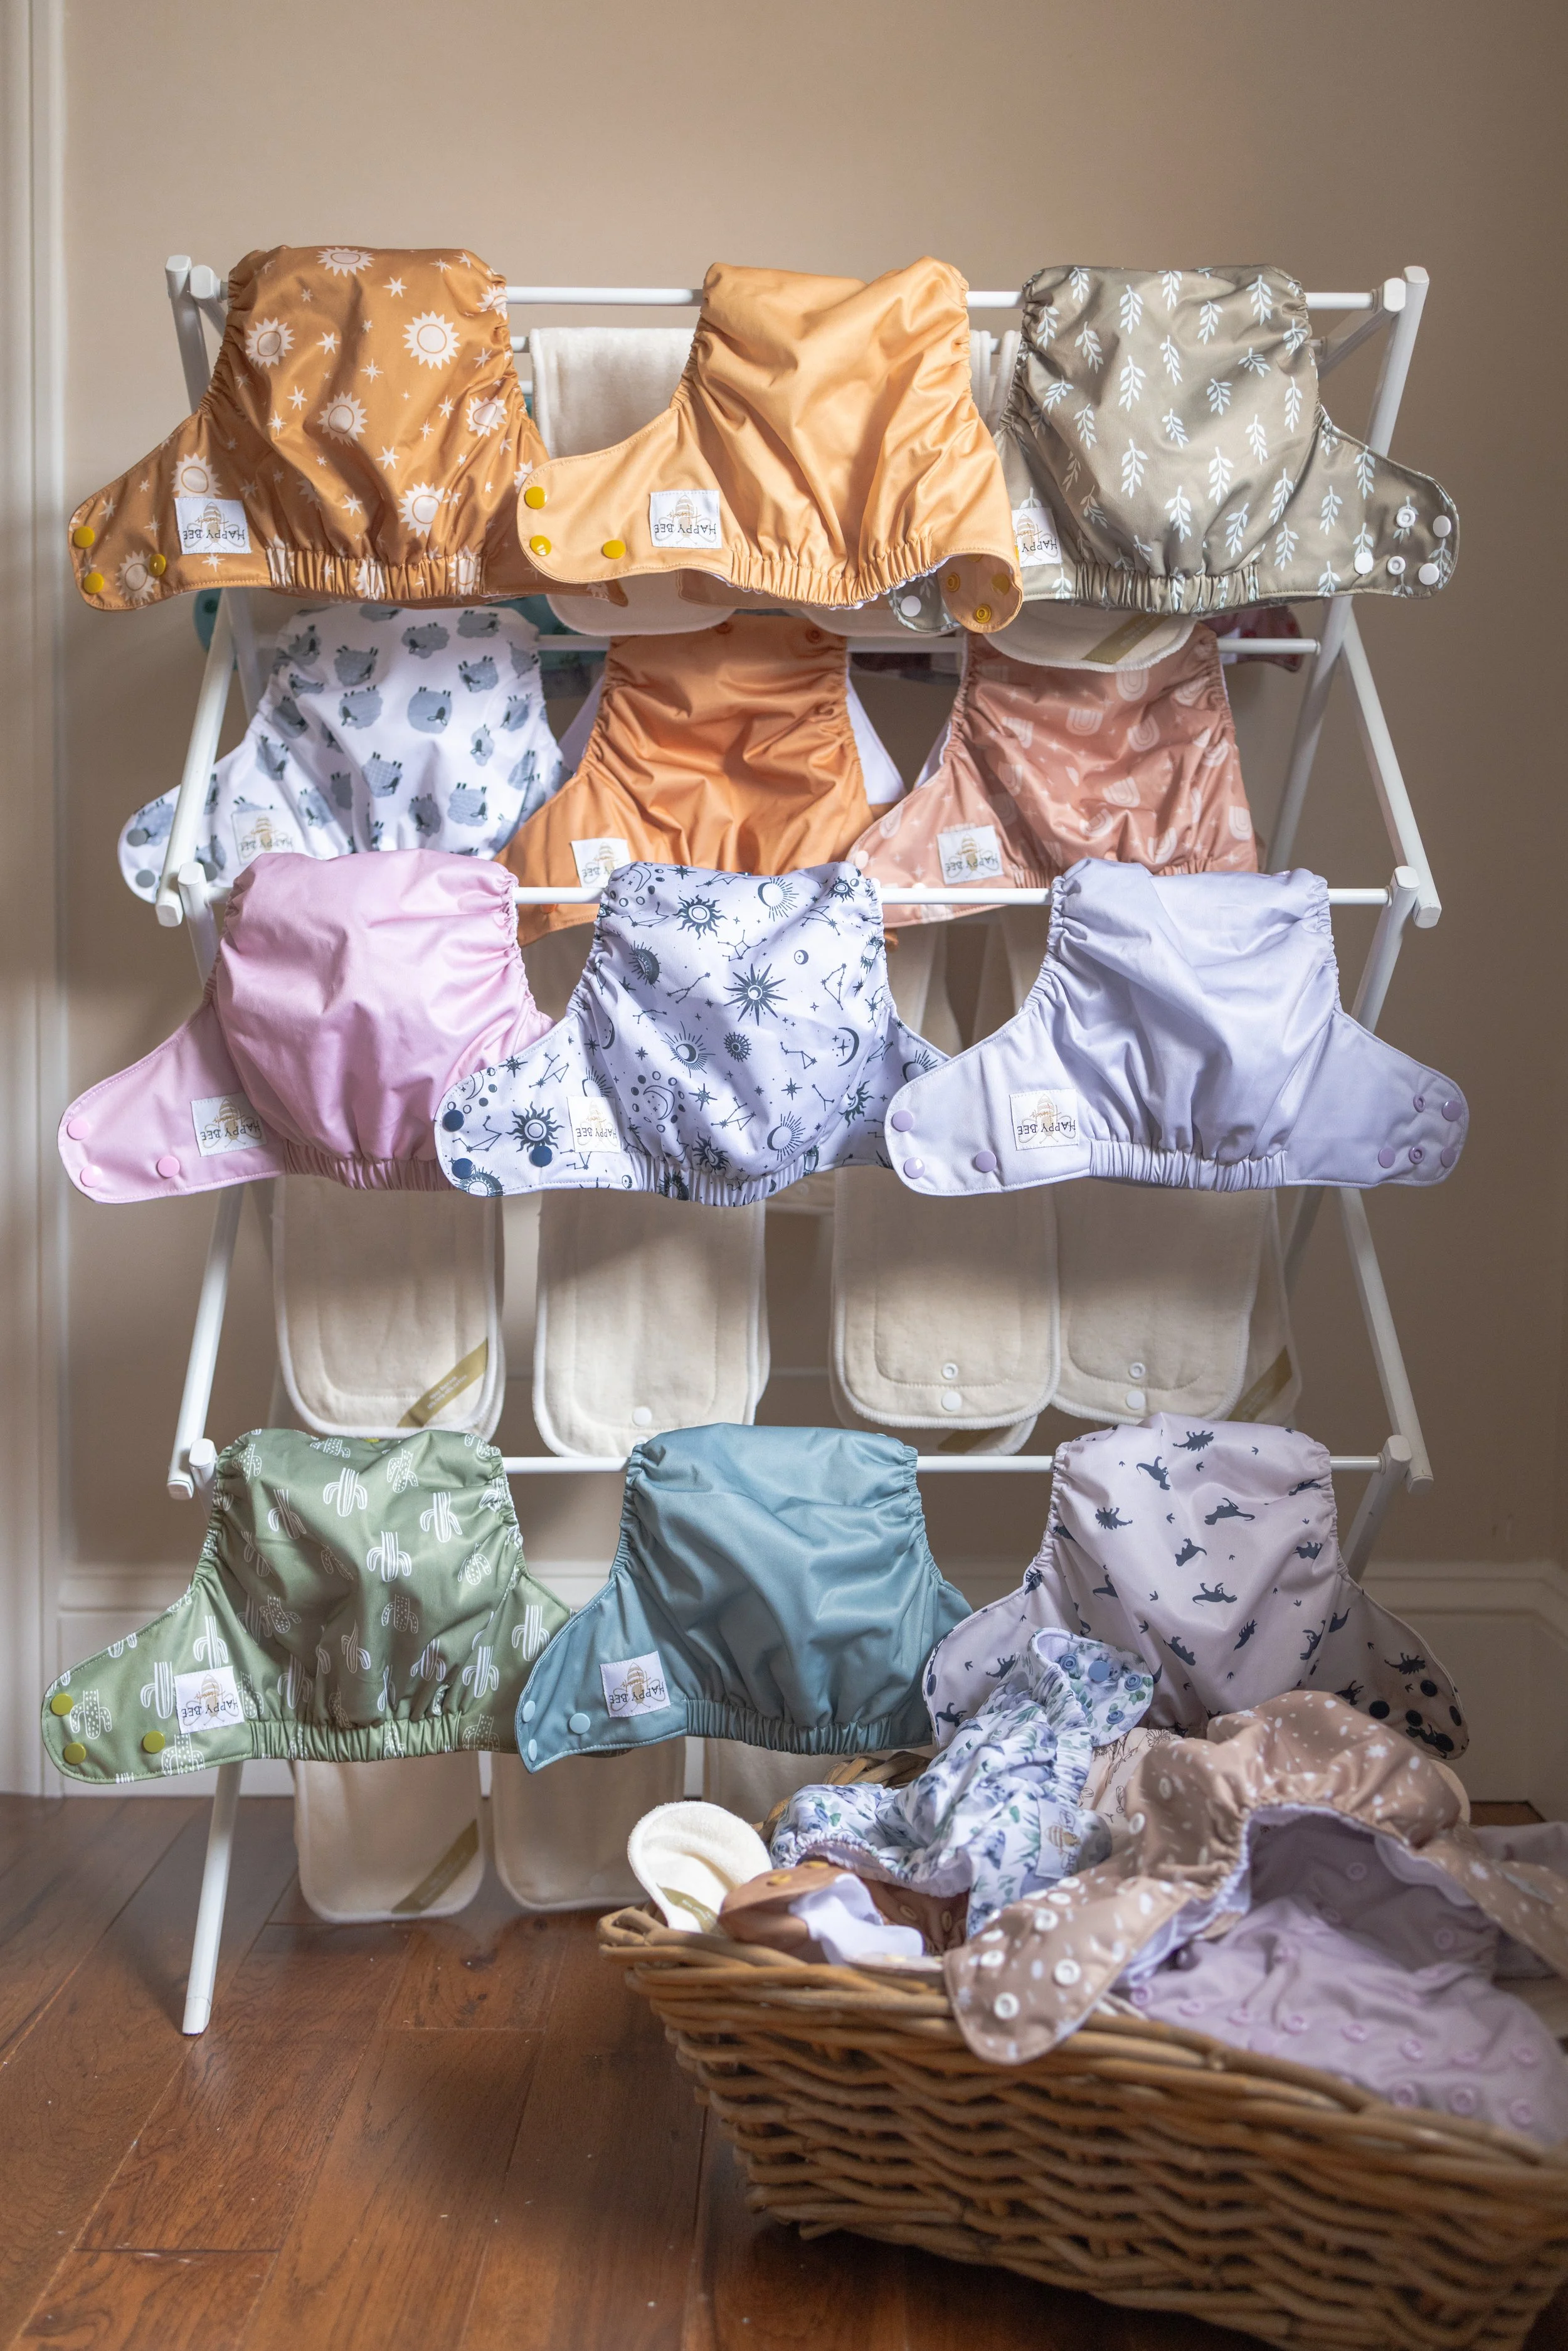
Air Drying
If you want to maximize the lifespan of your diapers, air drying is an excellent option.
You can hang diapers:
On an outdoor clothesline
On an indoor drying rack
In a laundry room with good airflow
On a covered porch or patio
Air drying is especially beneficial for diaper covers, pocket shells, and All-in-Ones because it helps preserve the waterproof laminate (PUL) and elastic over time.
Let the Sun Do the Work
One of the best stain removers is completely free—the sun!
If you notice light staining on your diapers or inserts, hang them outside in direct sunlight while they're still damp. The sun's natural UV rays can help fade many common baby poop stains without the use of harsh chemicals.
Even if you don't have an outdoor clothesline, placing diapers on a drying rack near a sunny window or outside on a porch can still help brighten stains. While outdoor sunning is typically the most effective, any natural sunlight is a great first step before reaching for stain treatments.
A Few Things to Avoid
To help your diapers last through multiple children:
Skip dryer sheets and liquid fabric softeners, as they can coat absorbent fibers and reduce absorbency.
Avoid excessive high heat whenever possible.
Follow your diaper manufacturer's care instructions for specialty fabrics and elastics.
You're Done!
Once your diapers are dry, simply stuff your pocket diapers (if needed), fold your flats or prefolds, and organize everything so you're ready for the next change.
That's it! Five simple steps, no complicated formulas, and no laundry degree required. Just a consistent routine that keeps your diapers clean, fresh, and ready for whatever your little one throws at them next.

EXTRAS:
Choosing the Right Detergent
One of the biggest myths about cloth diapering is that you need a special detergent.
In reality, most mainstream detergents work extremely well.
Look for a detergent that:
Cleans heavily soiled laundry
Doesn't contain excessive fabric softeners
Is compatible with your water hardness
Always follow the detergent manufacturer's recommended amount based on your load size and washer type. If you need help or some recommendation- check out my Detergent Index linked below.
Hard Water vs. Soft Water vs. Well Water
Your water quality plays a huge role in your wash routine.

Water Hardness Test Strips can be found On Amazon
Well Water Tips
If your home uses well water, don't panic—cloth diapers can absolutely be washed successfully.
Things to watch for include:
High iron levels
Hardness
Sulfur odors
Mineral buildup
Testing your water before building your wash routine can save a lot of frustration later.
Hard Water
Hard water contains dissolved minerals that can reduce cleaning power and lead to buildup.
You may need: A strong detergent (possibly powder), Water softener (if appropriate), Occasional troubleshooting if diapers develop odors
Soft Water
Soft water generally requires less detergent and rinses more easily.
If you're unsure what type of water you have, consider using a water hardness test kit or contacting your local water provider.
Common Cloth Diaper Washing Mistakes
Washing Too Infrequently
Waiting a week between washes often leads to lingering odors and stains.
Using Too Little Detergent
Cloth diapers are some of the dirtiest laundry you'll wash. Don't be afraid to use enough detergent to get them clean.
Overloading the Washer
Diapers need room to rub against each other during the wash cycle.
Underloading the Washer
Too few diapers can also reduce agitation. If needed, bulk the load with small clothing items.
Using Fabric Softener
Fabric softeners can reduce absorbency and contribute to repelling over time.
Frequently Asked Questions
Do cloth diapers smell?
When washed properly, clean cloth diapers should smell like...nothing.
Strong ammonia, barnyard, or musty odors usually indicate a wash routine problem rather than an issue with cloth diapers themselves.
Can I wash cloth diapers with baby clothes?
It's perfectly fine to add clean baby clothes or small towels to your main wash to improve agitation. However, avoid adding heavily soiled household laundry.
How often should I wash cloth diapers?
Every 2–3 days is the sweet spot for most families.
Do I need to strip my diapers regularly?
No. Stripping should only be done to correct specific problems—not as routine maintenance.
Final Thoughts
A good cloth diaper wash routine doesn't have to be complicated.
The basic formula is simple:
Store dirty diapers dry.
Wash every 2–3 days.
Run a pre-wash.
Follow with a heavy-duty main wash using enough detergent.
Dry according to manufacturer recommendations.
Once you find the routine that works for your washer and water, cloth diaper laundry quickly becomes second nature.
Remember: every washing machine, detergent, and water supply is a little different. Don't be afraid to make small adjustments until your diapers come out clean, odor-free, and ready for your next change.
*This post may contain affiliate links. I do earn a small commission or store credit for some referrals purchased through these links. Any opinions shared are my own, I am just disclosing my material affiliation as required by the FTC. Commissions earned help continue to sponsor this content, donation, giveaways and more. Your support is so greatly appreciated <3
-
Store wet? Store dry? Use a diaper pail? Choose the storage method that fits your lifestyle while keeping odors and wash problems to a minimum.
-
Create a wash schedule that's easy to maintain and keeps your diapers fresh without overwhelming your routine.
-
Remove the bulk of urine and soil so your main wash can do its job effectively.
-
Deep clean your diapers with the right cycle, detergent, water temperature, and load size.
-
Protect your diapers' absorbency, waterproofing, and elastics by drying them the right way.
-
Choosing the Right Detergent
Hard Water vs. Soft Water
Well Water Tips
Common Cloth Diaper Washing Mistakes
Frequently Asked Questions
Final Thoughts
Need help finding something?
Shop Now